

Create your own gift wrapping station
Santa's workshop likely devotes an entire floor to gift wrap, ribbon, bows and bags. Intricately wrapped presents sustain the suspense of the treasure beneath the paper. In addition, there's something special for recipients when a gift is adorned in ribbon and bows. However, the average gift giver cannot recreate Santa's wrapping room when the time comes to wrap gifts. But a person may be able to fashion a compact wrapping station in a seldom-used corner.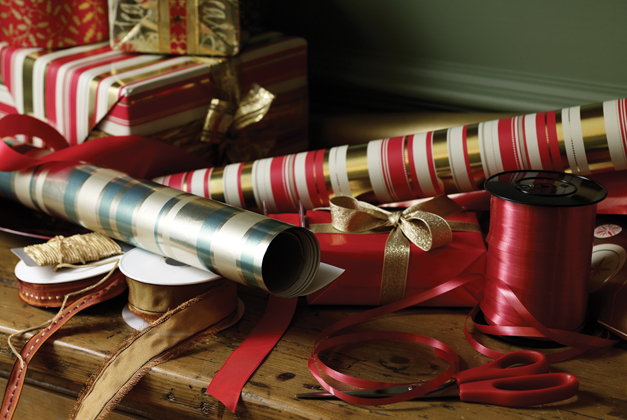
Many people long to have an area where they can create wrapping magic for holiday gifts, birthday presents and other tokens of appreciation throughout the year. However, with limited space, tall rolls of gift paper may have been stashed in the back of a closet or tucked under a bed, making them inconvenient to use once it is time to wrap gifts. With just a few feet of space, anyone can create a compact gift wrapping station that, while free of fancy bells and whistles, has all that's needed to get the job done.
The first step in creating your wrapping station is to find a spot that is out of the way but enables you to easily keep inventory of paper and ribbons. The back of a door or behind the door often provides adequate space to store supplies, and the width of a door might be the right size for the average roll of wrapping paper. If the door is too narrow, the rolls can be hung vertically instead of horizontally. Fortunately, gift wrap is narrow and doesn't take up much space on its own. Therefore, it usually can be tucked into a corner. Also, you just may have enough scrap materials around the house to use to build your wrapping station. If not, a trip to the hardware store or home improvement center can generally yield what you need.
Wooden dowels are an inexpensive yet valuable supply. Rolls of wrapping paper can be slid on the dowels and hung horizontally on hooks protruding from a door or wall. For a vertical installation, make a wooden frame the width and length that will be needed. Drill holes in the frame on the top and bottom through which the dowels can be fed. Then drill small holes on the ends of the dowels. Use cabinet door handles or drawer pulls on the end that are wider than the holes made in the wooden frame. This way the drawer pulls can be unscrewed at the top to remove the dowels and refill with a fresh roll of paper. Then the knobs can be screwed back on to prevent the dowels from falling through the wooden frame.
Those who are a bit more handy may want to paint and attach a piece of plywood to the door on hinges that can be folded up and locked into place with a hook when not needed, but then put down to serve as a shelf on which the wrapping can be done. Be sure to have a shallow ledge that protrudes somewhat under the shelf to offer support when the shelf is in the open position.
A separate dowel can be used to keep rolls of ribbon neat and within reach. A scissor hung on a hook or attached to a string will ensure that you're never hunting for a scissor under rolls of wrapping paper. It also keeps the scissor safely out of reach of young children.
If desired, a tape dispenser can be mounted on the wall or door as well, enabling one-handed measuring and cutting of the tape.
Get creative with your homemade wrapping station and then enjoy how efficiently you can wrap gifts.