


Decoupage Gives a New Spin to Egg Coloring
|
Decoupage is one of many centuries-old crafts that have experienced a resurgence in the past several years. What once consisted of Victorian roses on a grandmother's jewelry keepsake box has spread to images of all shapes and sizes adorning everything from wood blocks to delicate eggs. Relatively simple to master, the artof decoupage is the reformatting of paper onto another surface.
One of the greatest draws to the craft is the range of creative possibilities. There are loads of images to choose from. Scour flea markets and garage sales for those special finds that with a little adornment could turn into a beautiful treasure.
Just in time for Easter egg coloring, give a new spin to the tradition by creating unique decoupage eggs that will last far longer than the chocolate bunnies. Idea courtesy of "New Decoupage" (Clarkson Potter), by Durwin Rice.
DECOUPAGE EGGS
Materials:
Kids Straight pin
Eggs Mixing bowl
Fork Butter
Skillet Scissors
Chives Spatula
Toast Images
Basin of water PVA adhesive
Cellulose sponge Artist's brush
Acrylic-based polyurethane Spoons
1. Get the kids in the room.
2. With a straight pin, poke small holes into both ends of each egg. Gently blow out the whites and yolks into a mixing bowl.
3. Beat whites and yolks with fork until well blended. Over low heat, melt enough butter to cover the bottom of a skillet. Pour in beaten eggs and stir with the fork. With clean decoupage scissors, snip chives into the eggs. Stirs slowly, until eggs are set and not runny.
4. Using a spatula, serve immediately on slices of toast.
5. Now, fortified in your efforts to re-create the eggs of the czars, lay out the images. They should be small and shaped as appropriate for conforming to the curve of an egg. The smaller the image the easier it will be to attach. You will apply images directly to the white eggshells -- there is no need to paint the eggs. The natural eggshell-white background is already perfect. Soak the images in water. Because of the small, curved surface to which it will be glued, the paper must be completely relaxed or it will curl at the ends.
6. With your fingertips, spread a small amount of PVA adhesive firmly (but not too firmly) into place. Remove excess glue with a water-dampened sponge.
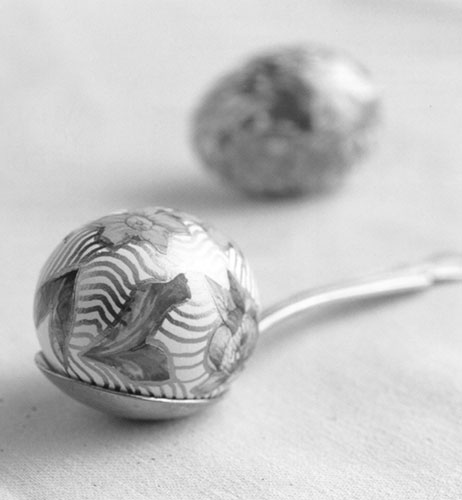
7. When egg is dry, use an artist's brush to finish with two coats of acrylic-based polyurethane and allow each coat to dry thoroughly. Apply the polyurethane to one side at a time, resting the dry side on a spoon.